Can You Install a Porcelain Slab Countertop Yourself Or Do You Need a Pro?
- Vibe Writers
- 5 days ago
- 5 min read

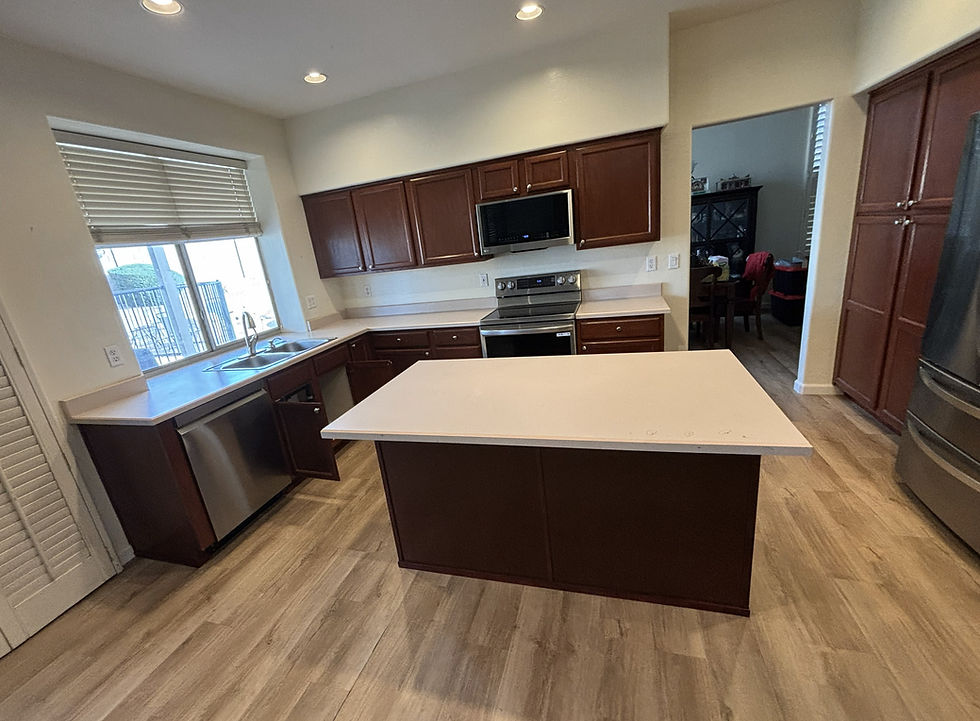
Porcelain slab countertops are fast becoming the main feature in kitchen renovations in and around Phoenix. These are the slabs that are programmed to resist heat, UV rays and stains, and on top of that, a lot of the new collections of 2cm thickness are meant for outdoor installations. Apart from having the color penetrate the slab, porcelain slabs also offer more patterns than Dekton or Neolith, which explains its popularity.

So, does that mean that installing porcelain slab countertops can be a DIY project on the weekend? Installation is possible but the likelihood of making a mistake is very high. Porcelain slabs are a whole different story to granite remnants, countertop pieces or even quartz. Here is what homeowners in Mesa need to know before they decide.
What Makes Porcelain Slab Countertops Different From Granite or Quartz?
Porcelain countertops are crafted from a very dense and compact material that is pressed and fired at extremely high temperatures. As a non-porous material, UV-stable and not necessitating sealing, porcelain is very different from natural stone. Therefore, it is a great choice for outdoor BBQ areas as quartz and quartzite are not recommended for such exposure due to their susceptibility to UV discoloration and weathering.
Granite and quartzite are much more flexible and therefore can better endure the stress from handling. Quartz is manufactured for uniformity but exposure to direct heat can still cause damage. Porcelain requires extremely careful and precise support and handling, even a very minor bend which might occur during transportation can cause a crack to run through the entire sheet.
Porcelain | High | Yes | No | Very High | 2cm, 3cm |
Granite | Use caution | Yes | 1x/year | High | 3cm |
Quartz | Not heatproof | No | No | Moderate | 2cm, 3cm |
The Realities of DIY Porcelain Slab Countertop Installation
Tools Needed & Skill Level
Fabricators who work professionally know how to use cnc machines, water-jet cutters and vacuum lifter systems to move slabs. In fact, a team for making templates will go a step further and take very precise measurements. They will then produce a cut sheet which is a blueprint for the shop. For making countertops at home you will need things such as a wet saw with a porcelain blade, A-frame carts, suction cups, small plastic wedges, epoxy, and seam setters. Most homeowners don't have these tools on hand, and rental fees can be very pricey.
Risks DIYers Always Face: Cracking, Seams, Lippage, & Also Losing the Warranty
The biggest problem area is when crossing and fixing. The first thing installers do is go over the method, get the place ready, and even make slight onsite changes to fit the piece perfectly. If it is absolutely necessary to have a seam in the countertop they will do it and use their skilled hands to make it one. A 1/32″ lippage on a plate is enough to reflect the light and be very visible. And last but not least, a lot of manufacturer's warranty becomes void if the installation is done by a non-certified fabricator.
Installation time: What is the Truth?
It typically takes 10-14 business days starting from the time you decide on your stone until the delivery/installation day. The installation part itself can be a few hours or a full day, depending on the size and complexity. The DIY timeline is usually twice as long because of the tool setup, getting used to it, and mistakes. Most of the time, surfaces can be used normally only 24 hours after installation.
Reasons Why Most Homeowners in Arizona Hire Professionals to Install Kitchen Countertops
Accurate measuring & On-Site adjustments When you give your final approval, a professional will visit you to precisely measure your cabinets. Often, walls that look straight are actually not.
Professionals will also factor in any cabinet irregularities without which the slab can be stressed in such a way that it will cause cracks over time. Handling the heavy 2cm & 3cm Slabs Safely. People now can go for porcelain countertops in 2cm thickness that are mainly meant for outdoor use, quartz slabs are offered in both 2cm and 3cm.
If slabs are indeed thinner, they weigh less but their edges are more susceptible to be chipped. Installers use special carrying clamps and know exactly where a slab can be supported and where it cannot during the installation process.
Quartz Backsplash Installation & Seam Matching
Generally, homeowners want the quartz backsplash installation to be in harmony with the countertop to achieve a uniform appearance. In order to have the veining on the countertop and the 4" backsplash are perfectly aligned, one has to consider it while making the template. An experienced workshop will first digitally schedule the cuts before they even start working on the slab.
Cost Comparison: DIY vs. Professional Installation of Porcelain Slab Countertops
DIY may appear cheaper at first glance but there are risks involved if you are not careful. The price for a single porcelain slab is between $1, 200 and $3, 500 depending on the color and format. In addition, you will have to spend $400 to $800 on tool rental, blades, and epoxy. If the slab breaks, you might need to get another one. Getting a pro for kitchen countertop installation in Mesa generally involves measuring, fabricating, delivering, installing, and sealing the joints. Besides, you will get a workmanship guarantee. For most people, the labor cost is a kind of insurance against a very expensive kitchen renovation.
Important Questions Before You Finally Decide
Who will help me with carrying 300+ lbs of a very fragile material through the doorways?
Am I skilled enough to do the sink and cooktop cutouts without causing any chips on the edges?
Is it that my cabinets can withstand the load, or will they require strengthening?
Does the warranty for my countertop mention using certified installers?
Am I okay if polishing a seam on site is the only option?
In case you answered "no" to any of these questions, probably the most secure move is to hire a fabricator. Desert Sky Surfaces is a company based in Mesa that has been in the countertop business for over 25 years, and they will handle everything from the initial measurement to the final cleaning.
Final Word
A porcelain slab countertop installation is a very precise job. If you have professional tools, a team, and stone-working skills, it's possible to do it by yourself. However, for most homeowners, the chances of damaging the entire slab are so high that it overwhelms the time saved almost entirely. So, get extremely accurate measurements, figure out the layout of your seams well in advance, and think about the real price of mistakes in case you decide to go ahead.
FAQs
1. Is it possible to install porcelain for exterior use in Arizona?
Of course. Porcelain is a great choice for outdoor kitchens as it is heat-resistant, UV-stable, and non-porous. In fact, quartz is not an outdoor-friendly material because the resins in it may change colour.
2. Is it necessary to seal porcelain slab countertops just like granite?
Porcelain is a non-porous surface, so it doesn't require sealing and can just be cleaned normally with soap and water. On the other hand, granite and quartzite must be sealed at least once yearly.
3. How thick should my kitchen island be?
Thicknesses of both 2cm and 3cm are popular. 3cm provides a lovely edge detail that looks substantial without a buildup, whilst 2cm edges can be easily mitered and it is lighter for very large islands.
4. Am I allowed to put hot pans on porcelain surfaces?
Porcelain may endure higher temperature changes compared to quartz. Nevertheless, most fabricators will still recommend that one should not expose a surface to direct heat for an extended period of time to avoid thermal shock. So it is better to always use hot pads, just to be safe.
5. When can I start using the kitchen after installation?
You can generally resume your normal activities within 24 hours after the installation. The installer will inform you when the adhesives and seams are completely cured.

Comments